

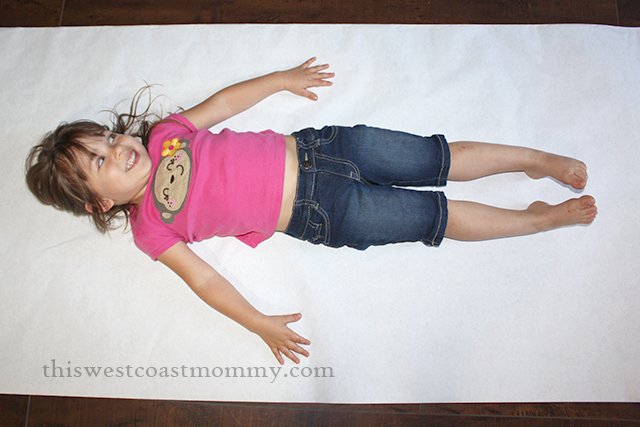
I’ve been slacking on the arts and crafts this summer. What with Kay getting more mobile, and sunshine and outdoor fun calling our names, crafts have kind of taken a back seat. But Tee asked to do some painting this week , so we decided to do a life-size self-portrait while her little sister was napping. Tee loves tracing her hand on every card she makes and picture she draws. She got super excited when I told her we were going to trace her entire body!
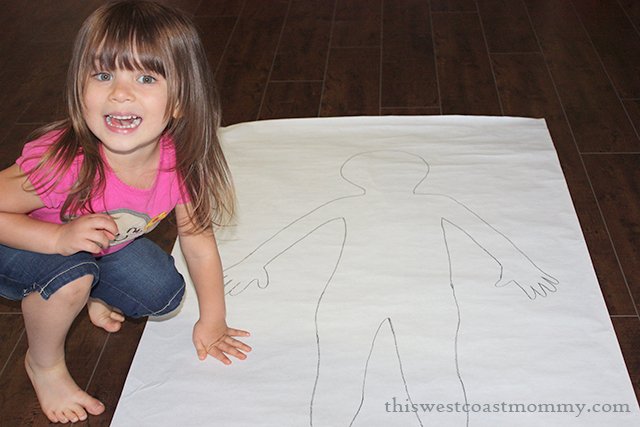
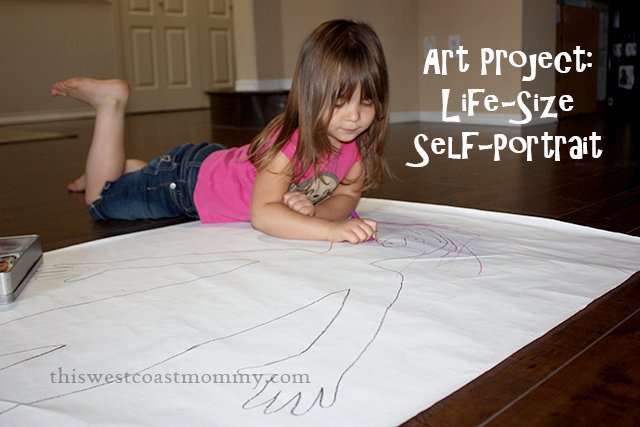
I remember doing this project when I was in grade one with paint and yarn glued on for hair. I didn’t have any coloured yarn though, so we just used the supplies we had on hand. I used a black crayon for the outline, and Tee decorated her self-portrait with crayons, paint, and stickers. This project can be as simple or as complicated as you like, depending on the supplies you have, the time you want to take, and your child’s attention span. Tee got bored after 45 minutes or so.
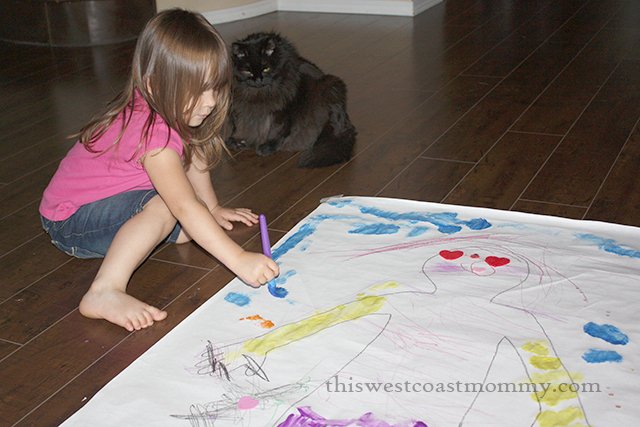
And here is Tee’s masterpiece! For your reference, the blue bits at the top are clouds. That black scribble with the pink heart by her hand is our cat, Zephyr. The hard-to-see orange scribble with the yellow flower by her other hand is our grey(!) dog, Kallie. Those big red heart stickers are her sunglasses, and the little pink heart is her nose. I asked her why the hair was red, and she said because she wants long, long, red hair. And why, yes, that is a lovely shade of nail polish on her manicured little fingernails!

I’d like to try this same project again next summer and compare the two to see how Tee’s skills have improved. Wouldn’t it be cool to have a whole series of these life-size self-portraits, each one year older and taller?
This post is linked up to some fantastic arts and crafts link parties. Check out my Link Parties page to see where I’m linking up and to find some wonderful blogs and more fun activities for kids!


What a fun project. They did this in my daughters first grade class and then laminated them. We still have it hanging in our craft room and she is now in 8th grade.
That’s a great idea! But I honestly have no idea how to even start laminating such a big piece of paper!
OMG… many things to say about this post:
1.) Your daughter is ADORABLE. I can imagine this being my daughter when she’s out of infancy – running around being creative with a cute mop of brown hair 🙂
2.) I LOVEEE this idea!! I never did anything like this as a kid but would have loved it. I will be sure to pin it so I remember to do it at a later date!!
Thanks, Christina! How old is your little girl? I like that you can do this with younger kids too, as long as they can hold still just long enough to do the outline.
I remember doing something similar when I was little (although ours wasn’t colored or decorated like yours.) So much fun!
She sure did have fun doing this project! It’s not often she sits still for that long!
Oh how awesome! I can’t wait until my little guy is a tad bigger so we can do this one! Thanks for the inspiration 🙂
You’re welcome! I’m sure this would work even for toddlers, as long as they can lie still long enough to do a basic outline.
This is such a FANTASTIC idea! It’s simple to execute with just paper and crayons but incredible amounts of fun and creativity are involved. *love*
Yes, just use whatever craft supplies you have available. I like that this works at pretty much any skill level too.
I meant to ask you yesterday…. where do you get paper that big? The craft store?
This paper was 30″ wide. Look for banner paper at the office supply store or art paper rolls at the craft store. I think I got mine for around $4 or $5.
This is such a great rainy day project! It looks like you had a lot of fun!
This is a wonderful indoor project, and we definitely had fun. I was surprised how long it kept her occupied!
We will be doing this tomorrow they are calling for rain and I love a good rainy day fun activity! Thank you!